Key Links
Blog Login
Magazine Login
Writer’s Guidebook
News Team Desk
The role of Visual Editors is to find appealing photos for articles being published on the blog and magazine.
Typical Day of a Visual Editor:
- Login to blog and magazine to find articles that need photos.
- Find, edit and add a great image to articles that need photos.
- Track in the News Team and Assignment Desk document which articles you’ve done.
Basic Steps of a Visual Editor:
- At the start of your shift, login to the Blog and BORGEN Magazine. Ask your manager for access to these.
- Once logged in, find articles that need photos added. To do this, click “Posts.” Then go to articles in the “Drafts” folder and choose the oldest article to work on (bottom article).
- In the News Team and Assignment Desk document, list your name and the date next to the article you worked on in the month tab.
- Add a photo to the article using the procedure outlined below.
- After the photo is added, save the article as “To Be Scheduled.”
- Work through all articles labeled “Drafts”
Training:
- Be familiar with the Blog and Magazine. They have different photo requirements. Spend a few minutes skimming through articles and getting a feel for the style.
- Prepare a folder on your computer where you will keep all of your Borgen visual edits. (You will be adding so many, so you might do this to stay organized).
- Become familiar with photo optimization.
- Ask your manager for access to our photo database on Flickr.
How Blog Posts Should Look When Visually Edited:

Photo Editing Steps:
Step 1: Find a photo
Try to only use the sites below for finding images or sites that allow image usage (creative commons or no rights reserved photos). Photos before 1920’s are safe to use, so feel free to get creative. Photographs on any U.S. government site are public domain, so check out sites like USAID, CIA World Factbook, whitehouse.gov, etc.
- Pixabay.com
- Google Images
- Flickr Create Commons
- Free For Commercial Use
- BigFoto.com
- MorgueFile.com
- FreeMediaGoo.com
- Everystockphoto.
com - UN Multimedia: username: [email protected] – password: 3sujju2o
Video How to Search for Google Images (the correct way)
Step 2: Save the Photo to your Computer
When downloading the resized image to your computer, give it an SEO-friendly name that matches the subject of your article & separate the file name (e.g. Sudan Refugees Flee to Africa.jpg). Remember, people doing image searches bring us lots of traffic each month! See further details on this step below.
Step 3: Style the Photo (optional)
If you’re feeling creative and would like to further edit the photo by adding filters or other adjustments – please do, but please follow these guidelines:
Things not to do:
– No borders
– Don’t add noise / pixelation / blurring effects
Things to do:
– Keep images clear and bright
– Add filters without adding graininess or blurriness
– If you’re very skilled make a photo collage etc…
Example of a photo that is not acceptable:

Note: the color filter is ok, but the photo has a blur effect with a little added graininess, we want to make sure our photos are crisp and clear, so please shy away from using those adjustments.
Example of an edited photo that is acceptable:
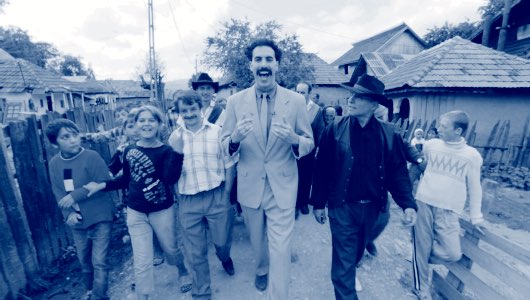
Photo Editing Applications:
– Google Photos (free)
– Pixlr (free online editor)
– Web Resizer (free online image resizer
– Apple Photos / iPhoto / Aperture (Mac OSX Yosemite)
– Photoshop / Lightroom (Mac / PC, paid subscription)
– CameraBag (Mac / PC, paid)
– Pixelmator (Mac / iOS, paid)
– Instagram (iOS / Android, free)
– GIMP (Mac / PC, free open source)
Step 4. Download the Photo: When downloading the resized image to your computer, give it an SEO-friendly name that matches the subject of your article (Sudan Refugees Flee to Africa.jpg). Remember, people doing image searches bring us lots of traffic each month! See further details on this step below.
Step 5. Photo Insertion
Blog Photo Insertion: place your cursor at the very beginning of the text (this will be where your photo will appear). Click “Add Media” and select your photo from your computer.
Magazine Photo Insertion: scroll down to the bottom of the post and on the right where the “Select Feature Image” box is, click into that.

Step 6. Technical Edits
- Delete the URL from the photo. Click on the photo in the post–it should highlight blue. Enter the “edit” screen by clicking the box in the upper left corner of the blue photo. Delete the link that is in the “Link URL” line. Press Update.
- Make sure the text is right up below the image. No spaces.
Step 7. Add the Source Code: Add the photo’s source below the article’s sources. Go into the “Text” screen and copy/paste one set of the existing source code. Change the word “Source” to “Photo” and then paste the URL where you found the photo in where the other link is. Give the site a name. See below.
example: <span style=”color: #888888; font-size: xx-small;”>Photo: </span><a href=”SITE URL GOES HERE” target=”_blank”><span style=”color: #2200fc; font-size: xx-small;”>SITE NAME GOES HERE</span></a>
Step 8. Put your name on the month tab. In the News Team and Assignment Desk, find the article on the tab that lists articles and mark your name next to it under the photo editor column.
Magazine Photos
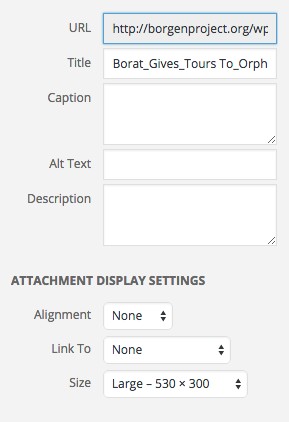
- It is important that the image is large and of great quality. 1078 x 516 pixels is the minimum size.
- Don’t add the image to the top of the page. Only add it to the “Featured Image” box. This is located at the bottom right side of the post. After uploading, in the “Alternative Text” section add the SEO key phrase.
- Magazine images do not get styled (no tint or border).
- Magazine images need to be resized and given an SEO name.
Difference Between Blog and Magazine Photos:
While our systems automatically format the image to the proper size (width wise) please note that the images need to at least meet these minimum requirements:
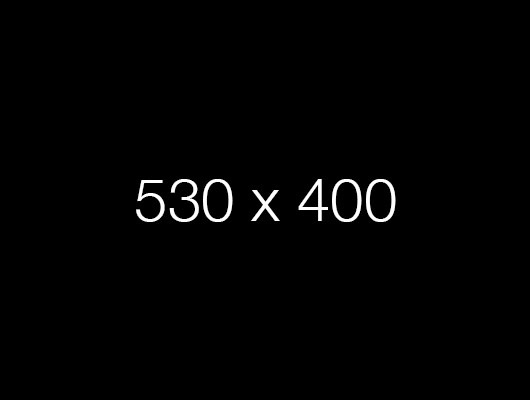
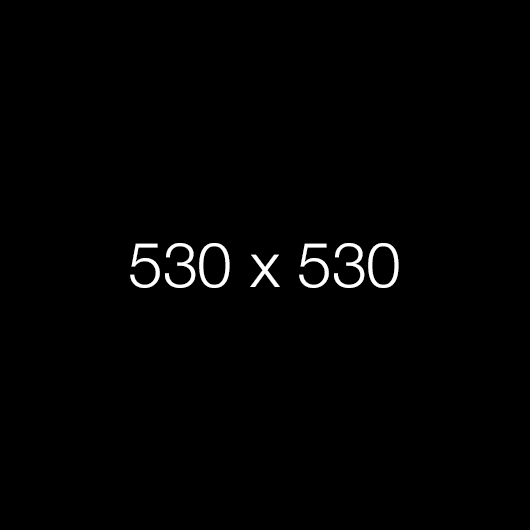
Blog image dimensions: 530 x 300-530 maximum (width x height in pixels). When searching for Blog images try to stick to rectangular photos, however if you find a square image that makes more of an impact, go ahead and use that instead.

Magazine image dimensions: 1078 x 516 pixels minimum (width x height in pixels). Magazine images should only be rectangular images.
Note: Do not use images from photographer websites and/or any website that charges for images.
Quick Checklist
- Did you rename the image in the proper SEO format?
- Does it look good? Image isn’t over tinted (image should be clear and not blurry).
- Is it the right size?
- Did you delete the image URL in the edit settings of the photo? You must do this so the photo does not link to anything once published.
- Did you cite the photo’s source at the bottom of the article, below the written sources?
- Did you delete any residual spaces between the photo and the text?
Biggest Mistakes of Visual Editors
- Boring photos and excessive poverty photos. Yes, most articles relate to global poverty, but that doesn’t mean every article needs a photo of impoverished people. For example, instead of adding a photo of poor people to an article about poverty dropping in Nigeria, try using a photo of the famous boxer Muhammad Ali standing victorious over an opponent that he just knocked out. Get creative! Good images help articles get read!
- Over-processing. If the image isn’t clear, don’t use it. Not every image will look good with a filter, especially smaller images.
- Linking the image. Always preview the article after adding your photo. If the image is linked (so it expands to a larger image) then it will look odd on the blog and hurt the articles SEO ranking.
TIPS FOR PICKING PHOTOS
Whenever possible, use creative or funny images. In the past, we’ve struggled with the blog and magazine being an endless stream of articles showing pictures of poor people… Not surprising since our topic is poverty. However, we’re trying to find ways to visually cover the topic of poverty with a limited number of the doom and gloom photos. Below are a few good examples of thinking outside the box. Spend some time on other news sites, what images draw you in?
GOOD PHOTOS

GOOD. Engaging photo. Great color and contrast.

GOOD. Captures the readers attention.
GOOD. Strong and powerful image. Great color.
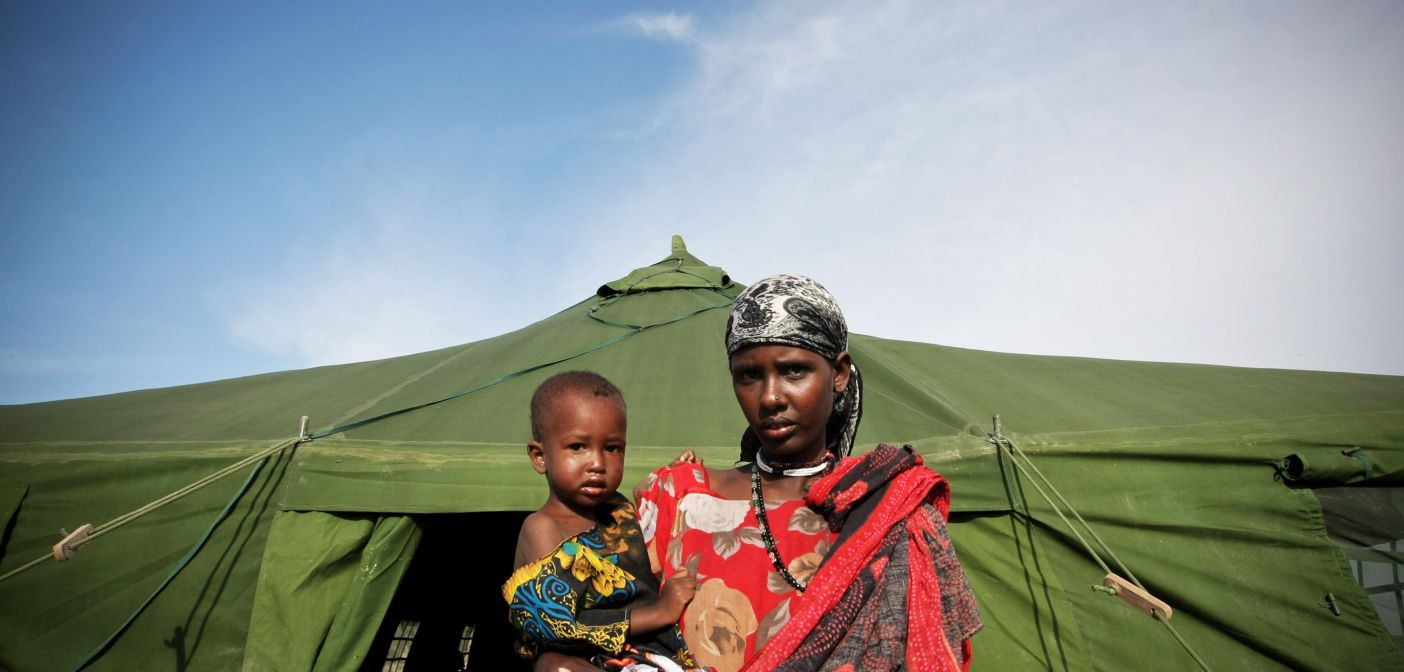
GOOD. Photos of “people staring at the camera” are usually worth avoiding, but in this case the photo is very classy and engaging.
BAD PHOTOS
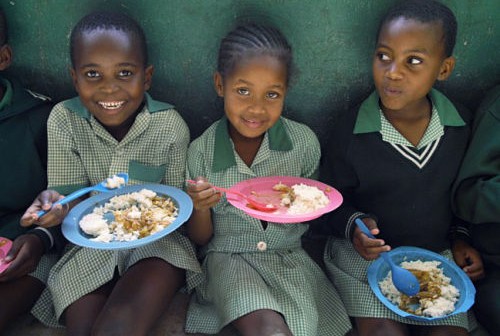
BAD. The smiles are nice, but otherwise the photo doesn’t do much. This image quality looks like it was taken by a tourist and not a professional.

BAD. Boring. In the history of humankind, nobody has ever said “I hope to see a photo of a man holding potatoes today.”

BAD. Avoid photos with words.

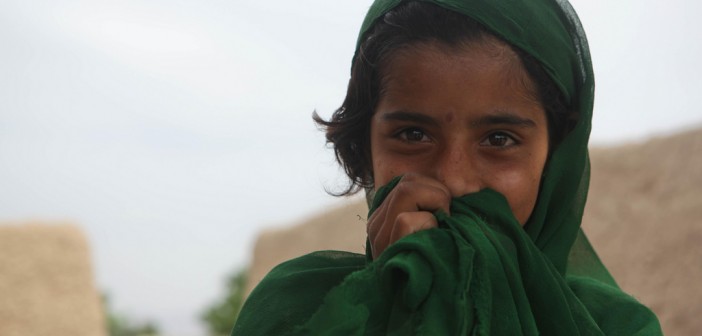
BAD. Boring. People standing and staring at the camera.

BAD… More staring at the camera. We get too many of these! Look for action shots.

BAD. Photos of panel discussions tend to be boring. If the article is about the event, often you’ll only find boring photos of the event. Try looking for images that convey the meaning of the event.